Step-by-step installation guide for solar water pumping. Covers pump controller wiring, panel string configuration, pipe sizing, and commissioning tests.
Installing a solar water pumping system correctly is critical for reliable, long-term operation. This guide covers the practical installation steps for both direct-drive and battery-backed solar pump systems used in agriculture and domestic water supply across the Middle East and Africa.
Pre-Installation Checklist
- Water source confirmed (borehole depth, static water level, yield test completed)
- Daily water requirement calculated (litres or cubic metres per day)
- Pump selected and matched to head height and flow rate requirements
- Solar array sized (1.3x pump power for direct drive, or full system calculation for battery-backed)
- All components on site and tested
Direct-Drive Installation
Step 1: Install the Pump
For submersible pumps: lower into the borehole on safety cable with discharge pipe. Ensure the pump sits at least 3 metres above the borehole bottom and below the dynamic water level during pumping.
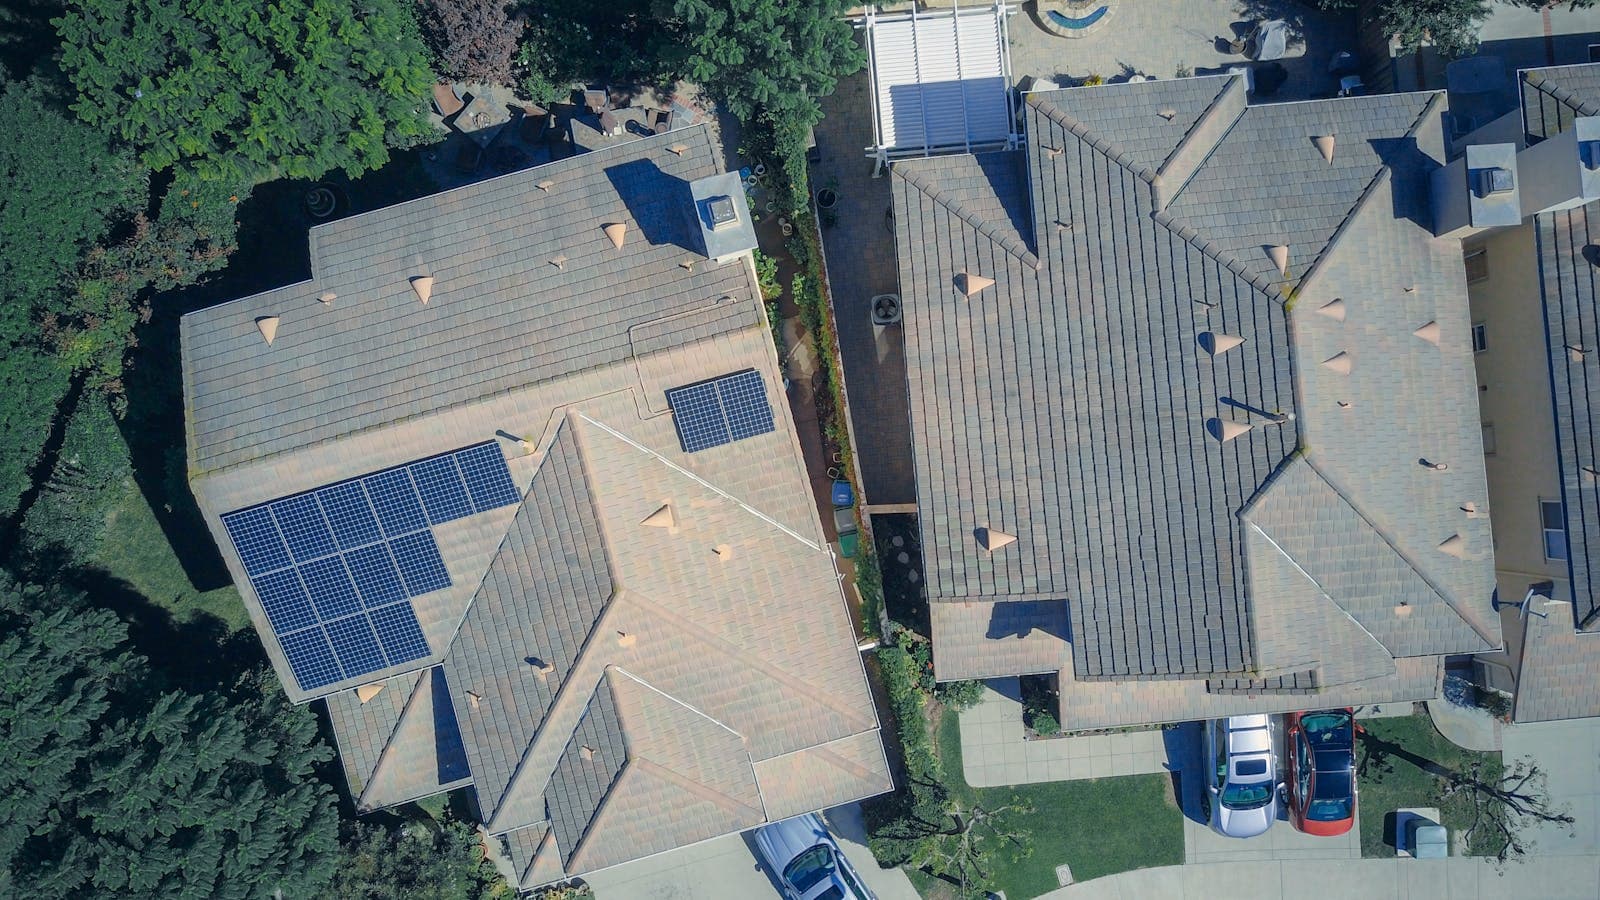
Step 2: Mount Solar Panels
Install on ground-mount or pole-mount structures facing south (northern hemisphere). Tilt angle: equal to your latitude for year-round optimisation (20-25 degrees in the Middle East).
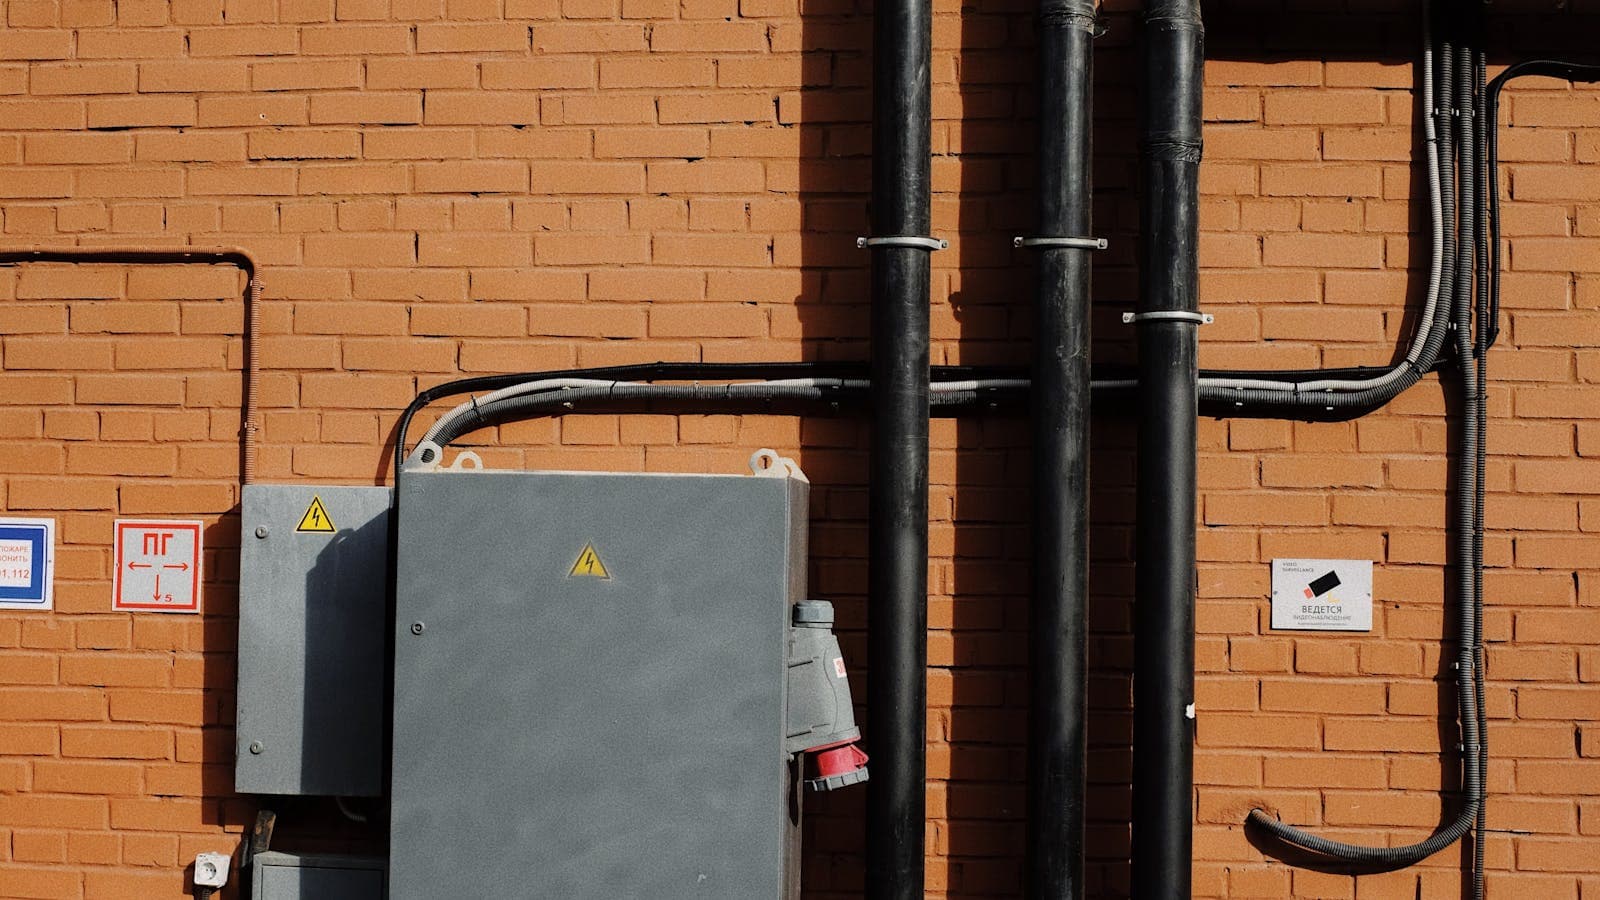
Step 3: Wire the Pump Controller
- Mount the pump controller (VFD/solar pump inverter) in a shaded, ventilated enclosure near the panels
- Connect solar panel strings to the DC input terminals
- Connect the pump cable to the AC output terminals
- Connect the water level sensor (prevents dry running)
- Configure pump parameters: maximum flow, pressure set point, dry-run protection delay
Step 4: Install Piping
| Pipe Diameter | Maximum Flow Rate | Application |
|---|---|---|
| 32mm (1.25 inch) | 3 m3/h | Small domestic / garden |
| 50mm (2 inch) | 8 m3/h | Medium farm / livestock |
| 75mm (3 inch) | 20 m3/h | Large irrigation |
| 100mm (4 inch) | 40 m3/h | Commercial irrigation |
Include a check valve to prevent backflow and a pressure gauge for monitoring.
Battery-Backed Installation
For systems using a Felicity IVPS inverter with battery storage:
- Install the Felicity IVPS inverter and battery bank as per standard off-grid system guidelines
- Connect the pump to the IVPS AC output (ensure inverter surge rating exceeds pump start current)
- Connect solar panels to the IVPS MPPT input
- Configure the IVPS for solar-priority mode
- Set a timer on the pump to run during optimal hours
Commissioning Tests
- Measure solar array Voc before connecting — verify within controller limits
- Start the pump and measure flow rate with a bucket and stopwatch
- Monitor pump current draw and compare to specifications
- Check water level sensor triggers dry-run protection correctly
- Run the system for 2-3 hours and verify consistent flow and pressure
- Record initial performance data as baseline for future comparison
Common Installation Mistakes
- Undersized pipe: Creates back-pressure that reduces flow rate and overworks the pump
- No check valve: Water drains back into the well when the pump stops, requiring re-priming
- Panel strings too long: Exceeding the controller's maximum input voltage can damage electronics
- No dry-run protection: Running a submersible pump without water causes motor burnout in minutes
- Pump too deep: Submersible pump should not sit on the borehole bottom where sediment collects
Frequently Asked Questions
How difficult is it to install a solar water pump?
Do I need a special controller for a solar pump?
What happens when the sun goes behind clouds during pumping?
Ready for a personalized quote?
WhatsApp us — average reply time under 15 minutes.